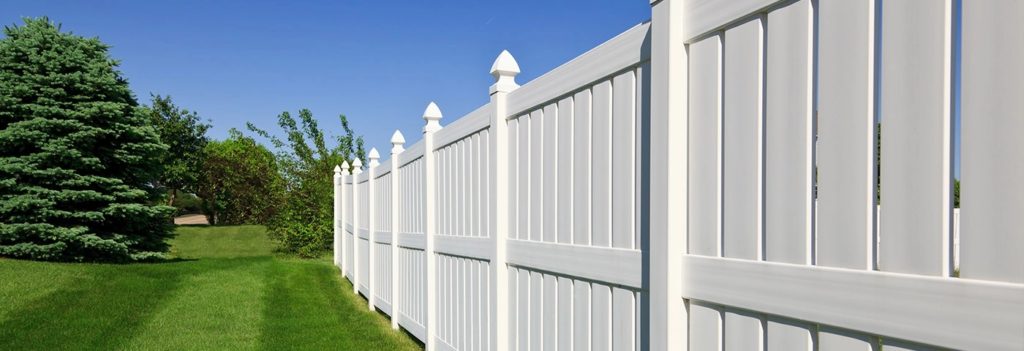
Hiring a painting service to paint your fence can get pretty expensive. A painting company in Sacramento was gracious enough to provide some valuable information on how to paint your fence on your own, so we have written this article to share it with you. Hopefully, you can get some good use out of it and lower your home upgrading costs.
Before you start, make sure that the weather is right. If it is cold and damp outside, it is not a good idea to try and paint exterior surfaces. If it is too hot, over 90 degrees, you might want to wait until it is a few degrees cooler. Any temperature under 40 degrees or over 90 degrees will cause problems. Rain will cause problems as well. Make sure the day is in good enough condition for you to successfully paint your fence. Otherwise, you will have to do it all over again.
First Step: Clean it Up
Depending on the shape of our fence and the surrounding areas you may want to clean up the environment before you start the job. Go around the perimeter of the fence and make sure there is at least a foot of space between any vegetation growth, plants, or debris. If you have obstructions such as kids toys, plants in planters, or extra stuff that needs to be stored somewhere other than stacked against the fence, you should move it all out of the way. Make sure that you have a clear path to work in that is safe and without things to trip over.
Second Step: Get it Prepped
In order for the paint, to fully bond with the fence it has to be free of all substances that will block the paint from sticking. In the first round, move to each and every fence board and use a wire brush to brush away any flakes or extra debris that is present. Take the time to scrub away anything that could cause problems with the paint. Bring a hammer along with you so that if you see any extended nails you can pound them back where they belong. For even better results, after the wire brush, use a pressure washer with high force to wash away anything that could be leftover. It is important to make sure that the area that will be painted is properly cleaned.
Third Step: Look Things Over
Take your time and inspect the fence thoroughly. You might want to have your wire brush and a rag handy in case you see anything that needs to be removed. A painting contractor will tell you that all that it takes to ruin an entire paint job is for the bond with the paint and the wood to be below standard. If you see any pieces of loose old paint, bird droppings, extended nails make sure that you attend to them and remove them before you begin to paint.
Fourth Step: Do a Test Run
At this point, hopefully, you have the appropriate materials picked out for your job. Unless you didn’t already know you should have the kind of paint that is best recommended for wooden fences that are built outside. Oil-based paint is the best way to go for exterior surfaces. You can get a primer on its own, or buy paint with primer already in it. Depending on the paint that you get, and the quality of the manufacturer all in one paint can be great, just as good as a separate primer and paint combinations. With the separate primer and paint, you would have to first apply the primer to the fence, wait for it to dry, then apply the paint. When you have them both in one can, all you have to do is paint and go. In any event, pick out a small area of the fence and apply your paint. Wait an hour. After 60 minutes or so go back and look the painted area over to make sure that when it is dry it is going to look the way you want it. This will save you from painting the whole fence, then having to go back and redo the whole thing.
Fifth Step: Start Painting
Once you are 100% sure that you are ready to roll you can begin your painting excursion. It is recommended that you use a brush for each fence board. Start from the edges on the outside of the board, then carefully work your way towards the middle. This way you don’t overlap the paint into the cracks of the fence. If you are not worried about filling the fence cracks with paint, you can simply use a roller and roll the paint up and down smoothly and continually until the whole thing is covered.
Last Step: Allow it To Dry
Depending on the type and quality of paint that you used you may have to do a couple of layers in order to get the most out of your paint job. Once you get all of the painting out of the way step back and allow your masterpiece to dry completely. After 24 yours everything should be good to go. If it is warm outside even sooner. Once it is dry, give it a lookover and enjoy your new-looking fence.

